Get Started Fast: Follow these steps to start using Raycaster’s AI-powered workspace. You’ll learn how to create sheets, populate data, and leverage AI for powerful insights.
Create Your First Sheet
- 1
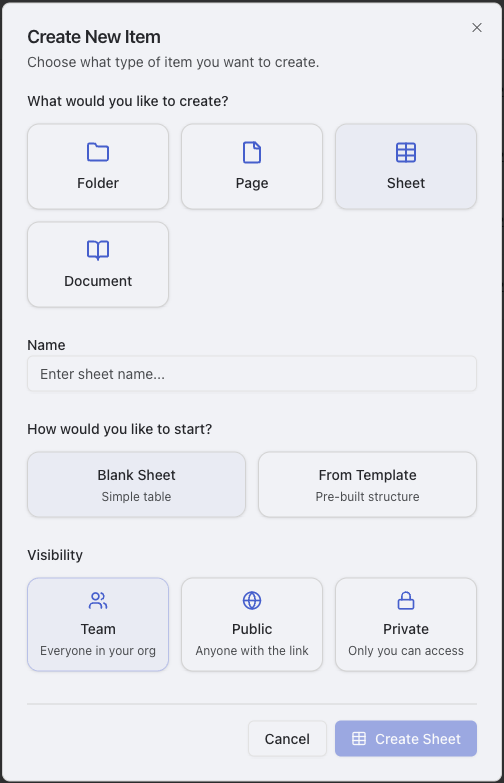
Navigate to Home & Create Sheet
Select Home at the top left in the sidebar, then click the “Create” button in the top-right corner. Select “Sheet”.

- 2
Name Your Sheet & Select Template
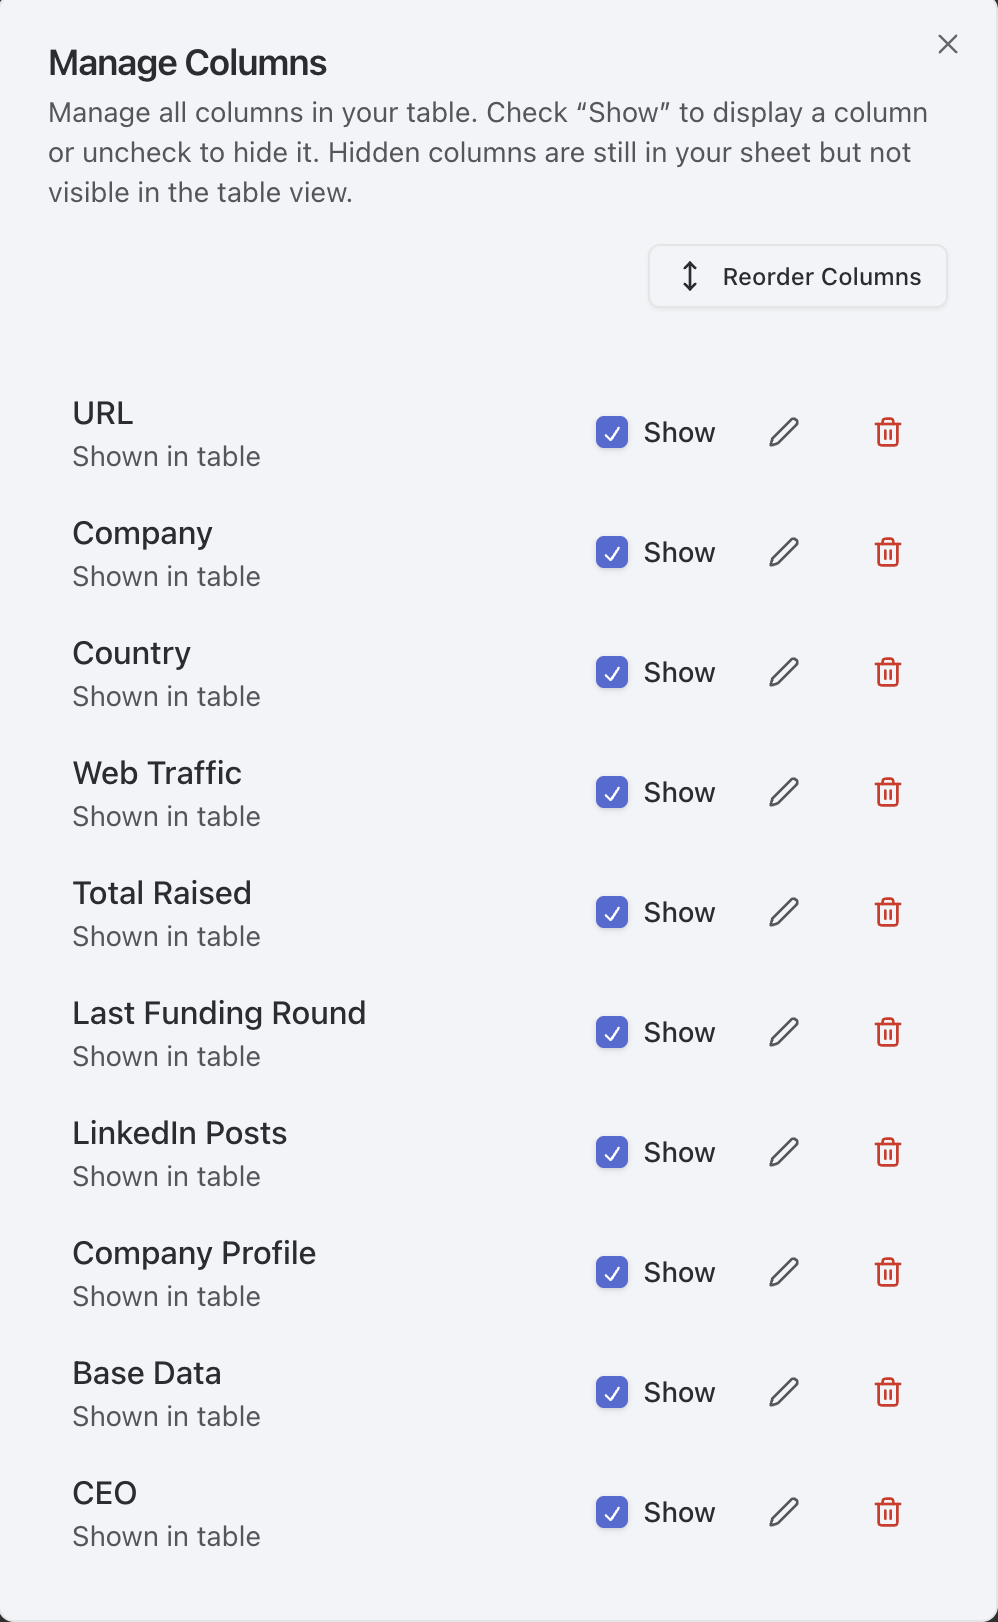
Give your sheet a descriptive name, then click “From Template” and select “Default Company Research” to get started with pre-configured columns.
- 3
Select Visibility Settings
Choose who can view and edit your sheet. You can keep it private, share with specific team members, or make it accessible to your entire organization.
- 4
Add Rows
Click “Add Row” at the bottom of the sheet.

- 5
Add Custom Research Column (Optional)
Click “Add Column,” name your column, select a data type, and enable the AI Research option. Use the ’@’ character to reference variables from other columns in your research prompts.

Pro Tip: Be specific when setting up research columns. For example, instead of “company info,” try “annual revenue” or “tech stack details.”
- 6
Run Research & View Results
Click “Run Research” to start the AI analysis. Watch as the AI automatically populates your research columns with relevant, accurate data pulled from various sources.

Key Point: AI-powered columns will automatically update within ~2 minutes after your request is submitted.
