
Documentation Index
Fetch the complete documentation index at: https://docs.raycaster.ai/llms.txt
Use this file to discover all available pages before exploring further.
1. Create a Project
After signing in, you’ll be prompted to create your first project. Each project is a self-contained workspace with its own file tree, chat sessions, and review history.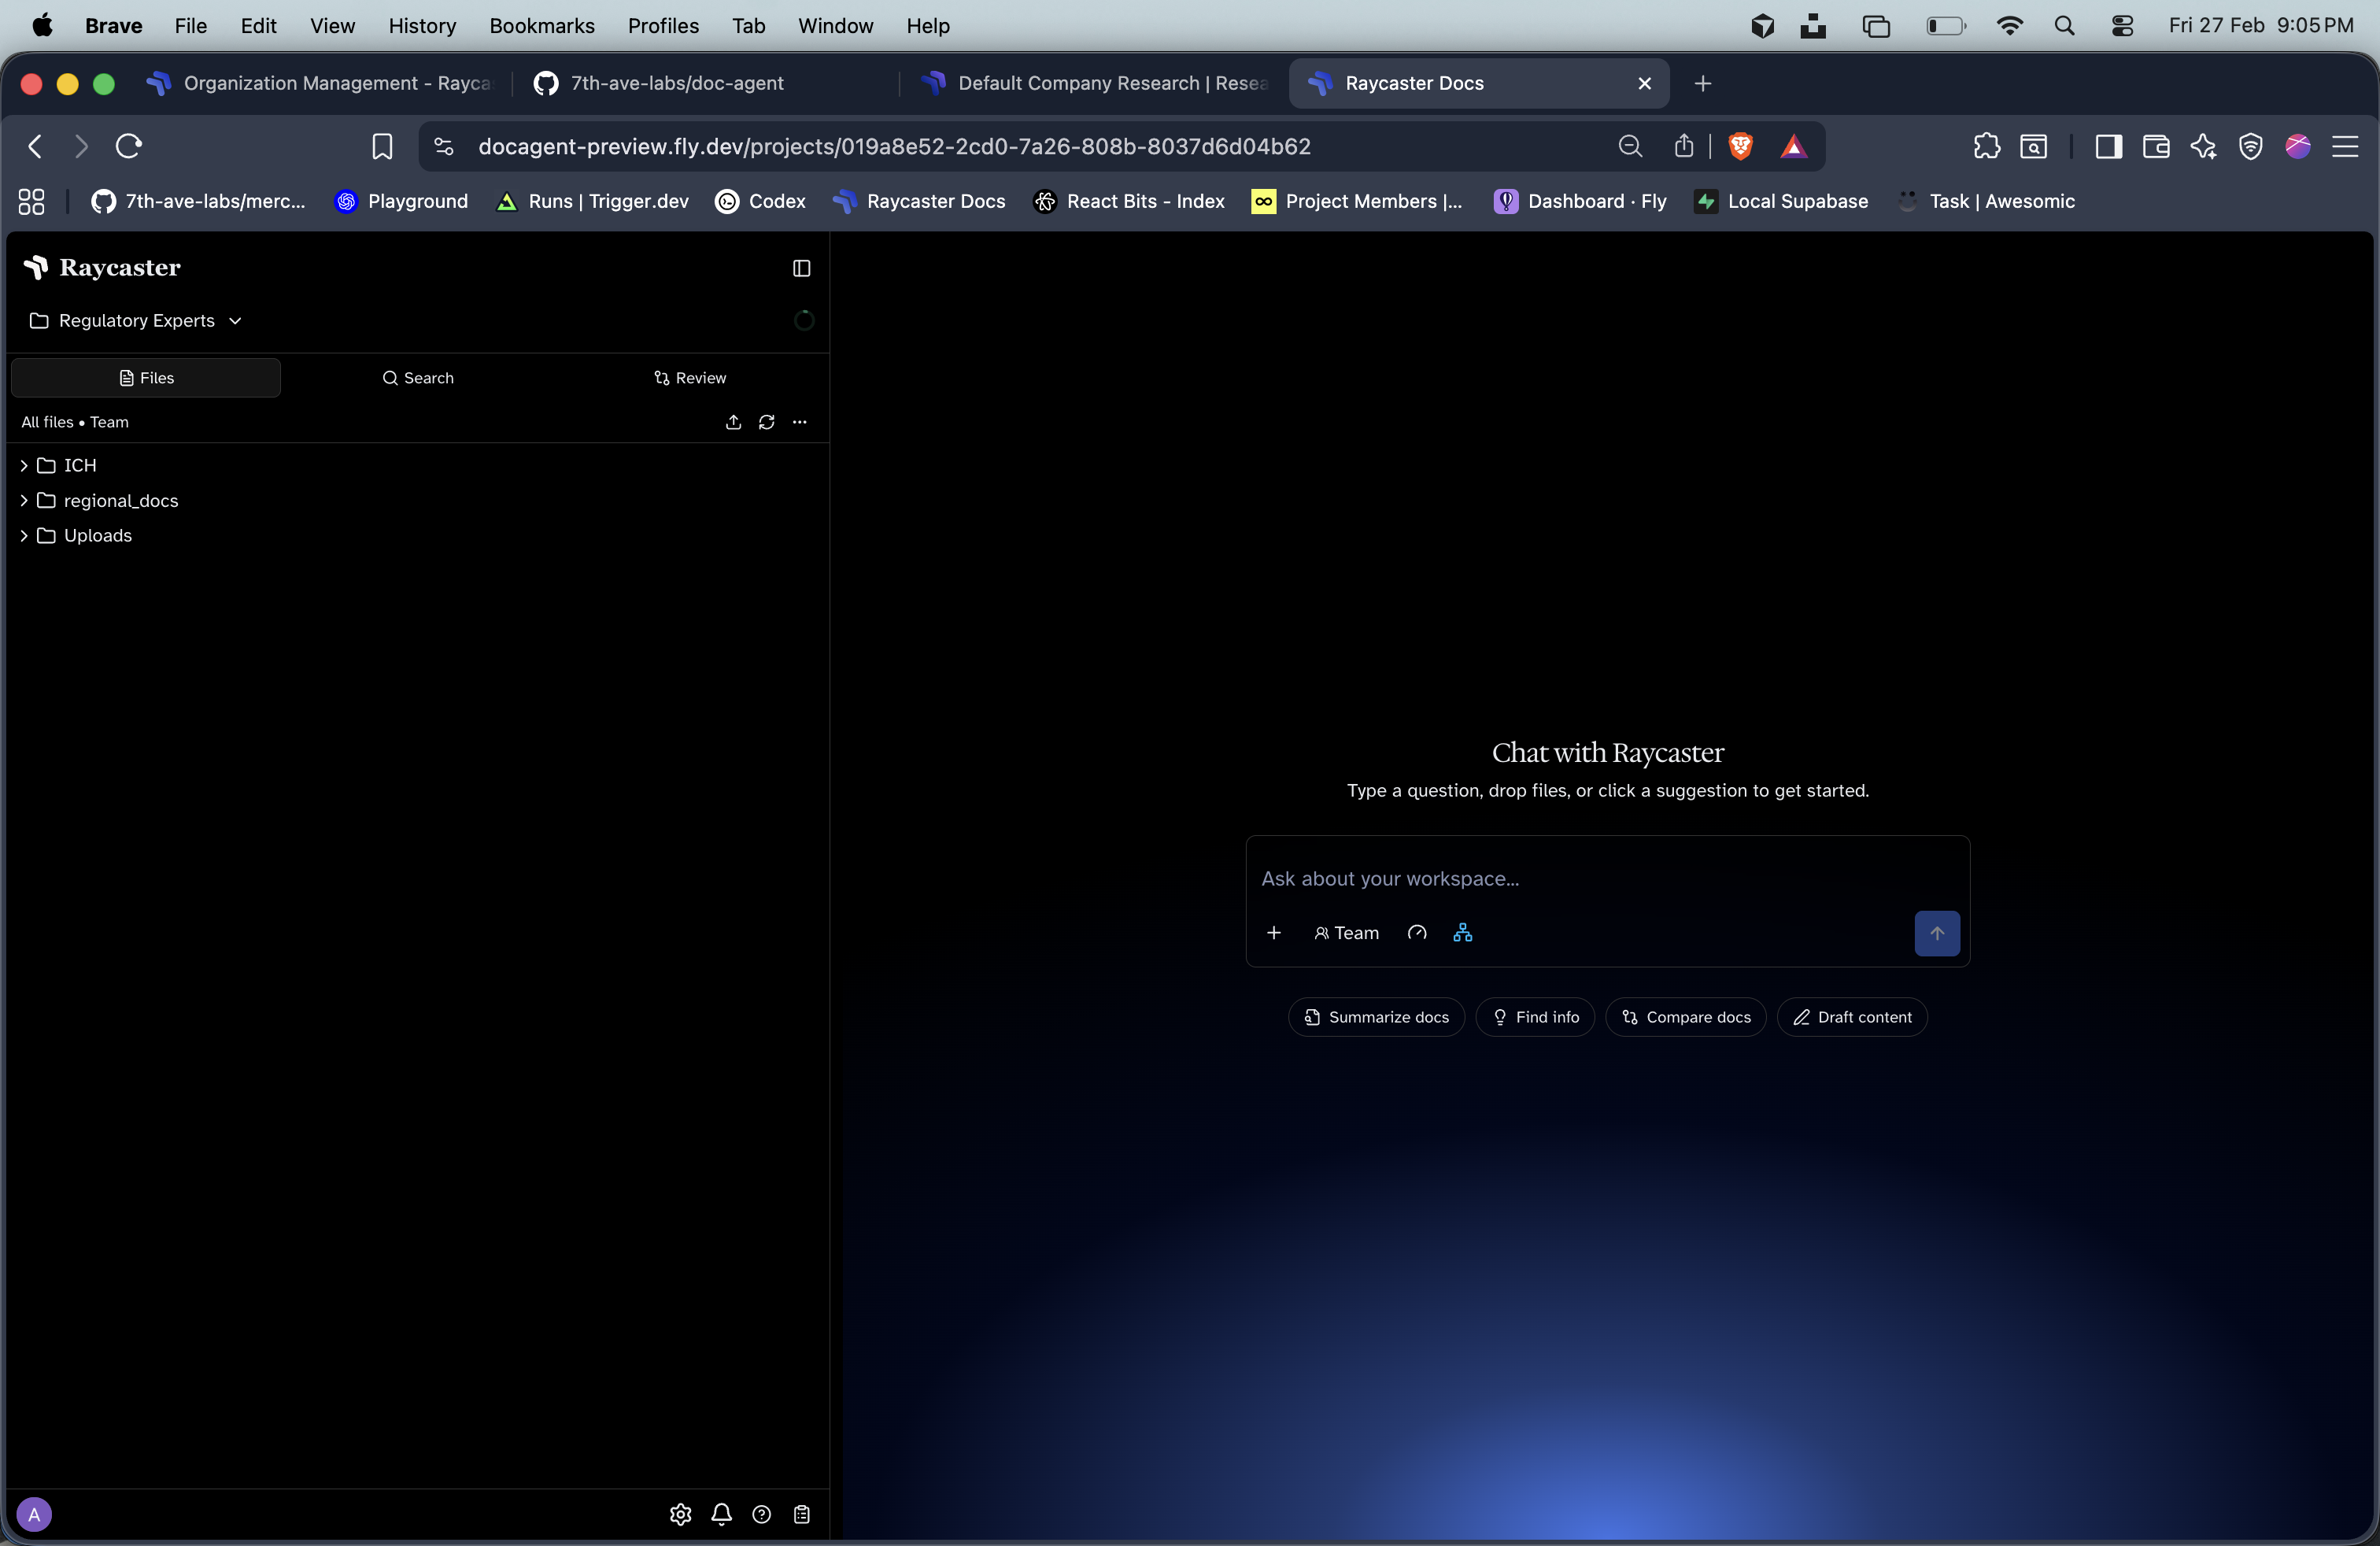
Name your project
Give your project a descriptive name (e.g., “BLA Submission Review” or “Q1 Patent Analysis”).
2. Upload Documents
Drag and drop files into the workspace explorer, or use the upload button. Supported formats:| Format | Parsing | Editing |
|---|---|---|
| Automatic OCR via Mistral | View only | |
| DOCX | Automatic parsing via Reducto | OnlyOffice inline editing |
| XLSX | Automatic parsing | OnlyOffice inline editing |
| Markdown | Native | Inline text editing |
| Plaintext | Native | Inline text editing |
3. Chat with Your Documents
Open the chat panel and start asking questions about your uploaded documents. You can:- Ask questions — “Summarize the key findings in this protocol”
- Reference files — Use @mentions to attach specific documents to your message
- Generate content — “Draft a response to this RFI based on our SOPs”
- Run code — The AI agent can execute bash and python for data analysis
4. Review Documents
Set up structured review workflows:Create a Review Program
Define the review prompt and attach guideline files that the AI should follow.
Run a Review
Select target documents and kick off the review. The AI analyzes each document and produces action items.